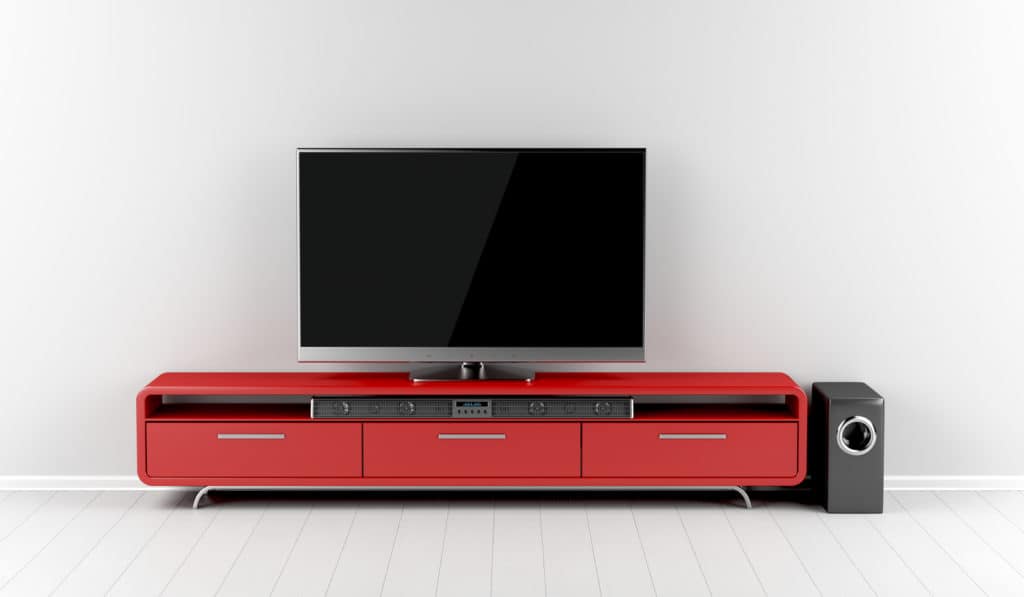
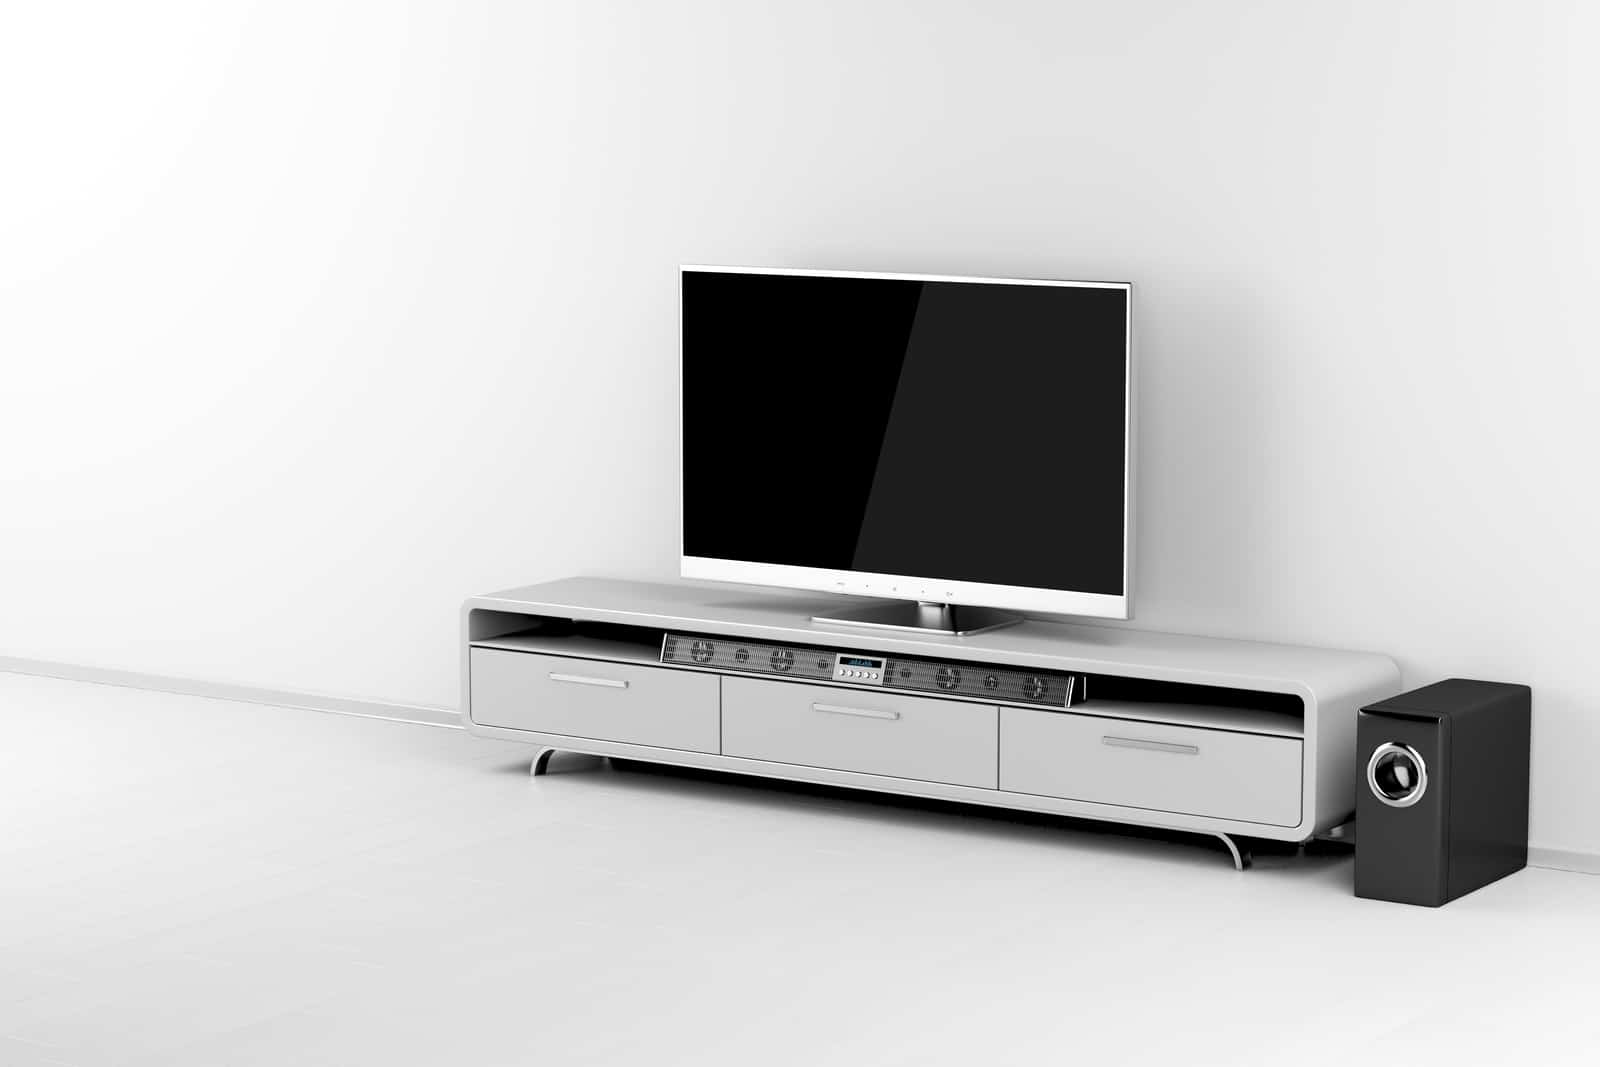
New technology like soundbars have made digital media consumption more immersive for millions of people. Whether you’re watching a movie, a TV show, or playing a game, soundbars can give you the best audio output for your home entertainment system with less hassle when you hook it up.
Because soundbars are a recent piece of technology, there is still no installation standard existing to this day. You can find soundbars with different connections, different configurations, different price points, and sound quality. Some would support old TV models while others only support newer ports. You also need to consider if you’re going to add other components such as a subwoofer or a console in the future.
Whether you want the best setup possible or just want to quickly plug and play, there are different options to choose from. In this article, you will learn four different ways to connect your soundbar to your television. A modern unit might have different connection options available. In this case, you can choose the best connection based on what cable is available to you.
Four Ways To Connect Your Soundbar To Your Display

For The Best Sound Output: HDMI ARC
If you want the best sound possible, you would definitely want to use an HDMI connection for your soundbar and television. The reason for this is because an HDMI cable can carry more files. Digital audio with higher quality will likely have a higher file size as well. In addition, HDMI connections support newer features such as Dolby Atmos and DTS: X.
Step 1: Check if your TV Supports HDMI-ARC
Most of the TVs right now support HDMI connection, but not all supports HDMI-ARC, which is the one that supports digital audio transfer. A basic HDMI port only supports the transfer of digital images, not audio. If you find an HDMI-ARC port in both your soundbar and TV, you’re ready to go.
Step 2: Connect Your Devices
At this stage, it is preferable to connect your devices to the soundbar for better sound output. Once all your devices (game consoles, players, etc) are attached, connect the soundbar to your TV by using an HDMI connector. Use the HDMI-ARC for both the TV and the soundbar.
Step 3: Settings
From your TV’s advance or expert settings, enable the “HDMI-CEC” option. Set your soundbar’s input settings to ARC. You can check if this feature is turned on if an “ARC” indicator light is on. And that’s it, you can now enjoy a higher sound quality for your games or video streaming.
For Easy Setup: Optical Cable
Most of the TVs and Soundbars support optical cable. The cable you need is often called a Toslink cable, which is usually provided by soundbar manufacturers. Take note that this method will not support high-definition sound features and high-end soundbars will have limited functionalities.
Step 1: Remove The Plastic Cover And Locate The Right Port
Optical cables usually have a plastic cover that protects the cable from dust and other particles. Remove the plastic cover before connecting the cable to your device. Identify the port that looks similar to your cable. Alternatively, you can search for the port labeled “Optical Out” or “Audio Out”.
Step 2: Connect the Cable And Setup Your TV
Connect the cable to both the TV and the soundbar. Set your TV sound input to optical and disable your TV speaker. Don’t forget to set your soundbar to optical mode using your remote.
Source: https://www.youtube.com/watch?v=6slRT2PfnX4
For Wireless Setup: Bluetooth Or Wifi
Connecting Via Bluetooth
Set your soundbar to the Bluetooth connection by pressing “source” in the soundbar remote. You can now enter the Bluetooth pairing mode via pressing the “pair” option. Next step, go to your TV’s settings and follow the instruction on the TV manual. Pair the TV to your soundbar. You should know if the TV is connected if its name appears in the soundbar’s indicator.
Connecting Via Wifi
You can usually find Wi-Fi-enabled soundbars from Samsung, but other brands such as Bose also Wi-Fi products. Wi-Fi features are only available on units released in recent years. You need a Wi-Fi router to get the setup running.
Note: Wireless setups are recommended for multi-room channels only. Wired options would be better if you’re only going to run your soundbar through your TV or consoles.
Connect your TV to your Wi-Fi network, then enable the Wi-Fi mode feature in your soundbar. In some cases, a mobile app is used to connect the speaker to the TV, check out your brand’s app in the app store or google play, whichever is supported. Make sure that your phone, TV, and soundbar is connected to the same Wi-Fi connection.

For Old TVs: RCA Cable
RCA Cables are usually branched out three-pin cables that come with red, white, and yellow colors. These cables are usually for old TVs, which will likely don’t have HDMI, optical, or wireless capabilities. It’s pretty simple, connect both red ends to the red RCA ports in both the TV and the soundbar. Do the same steps with white to white connections. Set your soundbar’s input to analog, and you’re ready to go.
Source: https://youtu.be/KEhOHUBEFjo
Source: https://www.youtube.com/watch?v=H5yQ6Fdaxss
Conclusion
Soundbars give better audio quality in your home entertainment system. HDMI-ARC is the best for sound quality, but the optical cable will get your setup running in a few minutes. And that’s it for this article. Please share this with your friends if you learned something new. Use the comments section if you have more questions.
Related Topic: 4 Easy Steps On How To Install Subs In Your Car
